
What happens when you take a deep sky camera and shoot an astro-landscape with it?
You have probably seen them on social media: Composite images combining landscapes with totally unrelated deep sky images. These pieces of fiction seem to be increasingly popular on Instagram, but Hubble style images pasted over wide-angle foregrounds give me the shivers. Instagram nevertheless appears to think that I like them and keeps feeding me this junk. Don’t get me wrong, I like deep sky images, and a long time ago, I started my photographic journey with telescopes and deep-sky object (DSO) photography. I never considered myself very good at it, but it was fun shooting faint fuzzies from my backyard and to confirm that the far away nebulas and galaxies were really there. Later, when I applied well-established DSO techniques and low-level lighting nightscapes, I seemed to belong to the avant-garde of the landscape astrophotography community.
Developments in Landscape Astrophotography
In 2015 I bought my first DSLR, which was good enough to capture Milky Way nightscapes. As I really liked landscape astrophotography, my telescopes started collecting more dust than light. Of course, I continued to apply the techniques I learned in DSO photography. Tracking and stacking were obvious musts for good image quality, and an astro-modified camera became my main workhorse in 2016.


My biggest surprise was that DSO imaging techniques were mostly unknown in the nightscaper community and considered extremely advanced. Before taking my first nightscape image, I also read Royce Bair’s e-book and learned about low-level lighting. That made me wonder why everybody was waving their torches at night. It was hard to believe.
Fast forward to five years. Today, trackers are widely used, with dozens of different models available. Thanks to SLS and Sequator, stacking has become a standard technique, even for untracked nightscapes. Astro-modified cameras are now available directly from Nikon and Canon or from third-party companies, who can modify just about any brand, and low-level lighting needs no more explanation.
As positive as this is, I have seen little real innovation in our field lately. Refining techniques and equipment or shooting from ever more exotic places is great, but where are the future game-changers? As deep sky astrophotography has been the primary source of innovation in the past, let’s look there again and ask what can be applied to nightscapes.
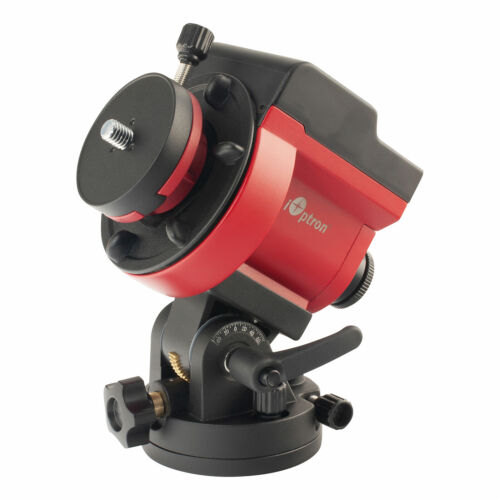


Just a small collection of tracking mounts available today. Left to right – iOptron SkyGuider Pro, Sky Watcher Star Adventurer, and the Omegon Mini Track LX4.
What’s Going on in DSO Photography?
In DSO photography, nobody is debating DSLR vs. mirrorless, as both are only considered adequate for beginners. The advanced astrophotographer has long since switched to specialized astro-cams, which are more sensitive than any regular camera and can be cooled down to -30°C below ambient temperature or more, with a significant impact on noise. The results are truly impressive.
So why is nobody using them for nightscapes? Traditionally, dedicated astro-cameras have been a poor choice for nightscapes, because their use of CCD technology makes a deep sky imaging rig complex, heavy, and slow. There are several reasons for this:
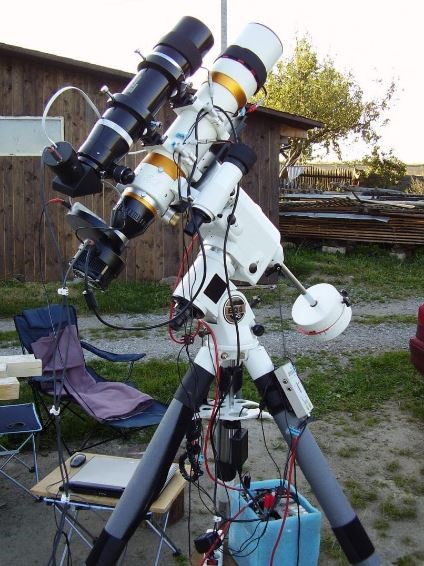
– CCD technology needs exposure times of 20 minutes and more to overcome the high readout noise. Such extremely long exposures require excellent mounts with auto-guiding capabilities. Unfortunately, such a setup is too heavy for a hike to your iconic foreground spot.
– The best astro-cameras are monochrome. To acquire a color image, you have to combine images taken through at least three different color filters (red, green, and blue or RGB) and for optimum results, luminance (L), and narrowband data (e.g., H-alpha). Capturing all these channels is an extremely time-consuming process that can take several nights.
– Astro-cameras cannot be controlled or focused without the use of an external computer, and the need for a laptop computer in the field is not very appealing for nightscapers.
– While cooled cameras reduce noise significantly, their thermoelectric coolers need an external 12V power supply. And carrying a heavy lead power tank longer than a few minutes might easily break your back!
Times are Changing
Fortunately, some of this has changed lately. Several companies are now offering cooled astro-cameras with CMOS sensors. These are the same sensors as those used in the latest photo cameras. They are less sensitive than CCDs, which the best astrophotographers continue to prefer, but thanks to their lower readout noise, exposure times can be kept much shorter than with CMOS cameras, thus allowing the use of less precise and lighter mounts. In other words: you can use them on a simple tracker.
Furthermore, many CMOS astro-cams come as one-shot color cameras (OSC). That lowers their sensitivity compared to their monochrome cousins, but it also simplifies image acquisition.

The flagship cooled CMOS cameras from ZWO and QHY use the Sony IMX455 sensor, from the Sony A7R IV.
Another exciting development is that there are now several solutions to control astro-cameras (and even complete imaging rigs) with tiny Raspberry Pi computers through your smart device. You can leave the laptop computer at home and while you still need external 12V power for camera cooling, much lighter lithium power tanks can replace the heavy lead batteries.

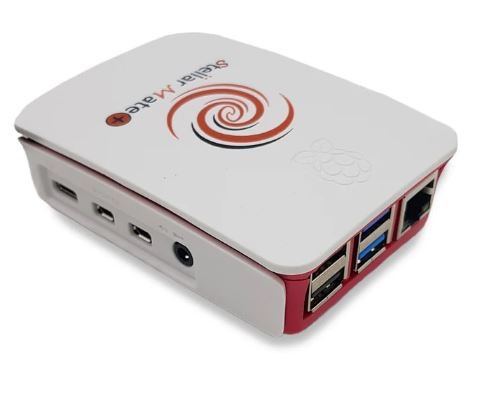
ASIair and Stellar Mate are two Rhaspberry Pi based solutions to control DSO imaging rigs.

Working with a cooled CMOS astro-cam will always be more complicated than using a regular camera. However, higher complexity has not kept the community from endorsing trackers and stacking. As there are no obvious showstoppers anymore, I have been waiting for the first astro-cam nightscapes to appear. To my surprise, I have not seen any so far. Although many excellent nightscapers publish DSO images from cooled CMOS astro-cams, nobody seems to use them for landscape astrophotography. That made me wonder whether I was missing something or if the results do not justify the effort to use them for nightscapes.
Giving it a Try
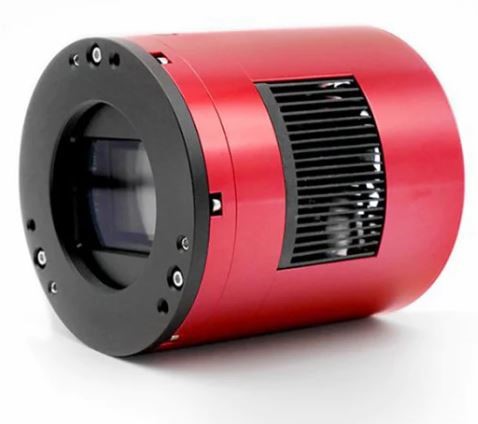
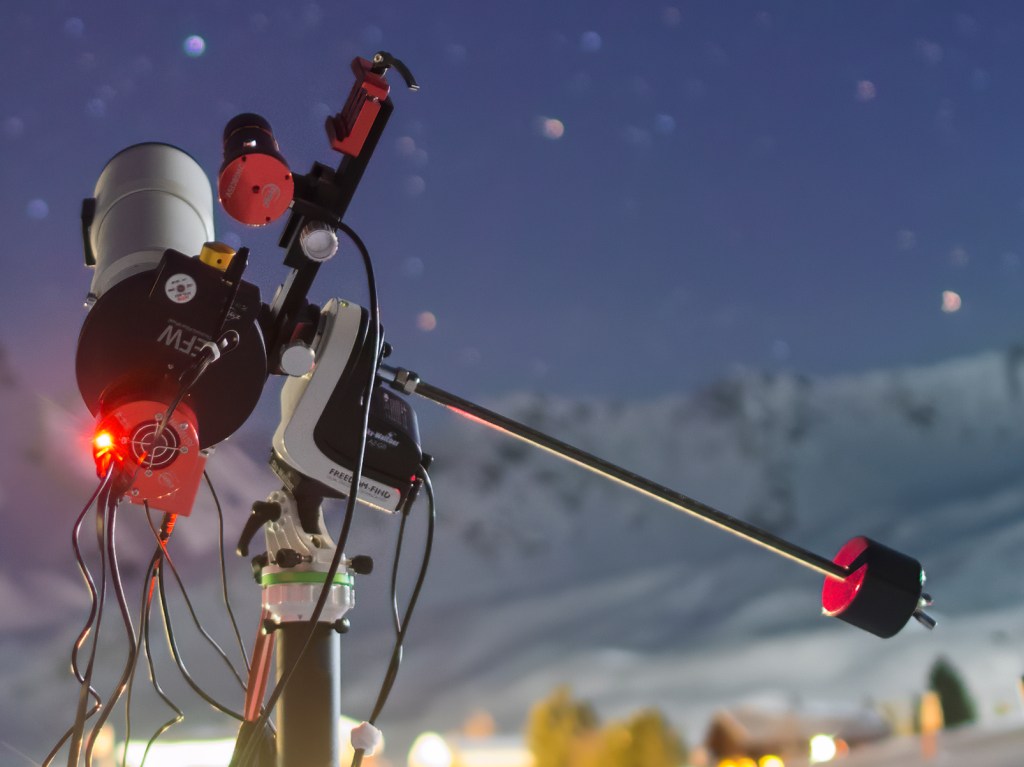
As I own a cooled ZWO ASI1600MM Pro 16 MP CMOS Monochrome Camera with a motorized filter wheel for my telescopes, I tried setting it up on my tracker and started thinking about possible targets and compositions for nightscapes with my new toys.
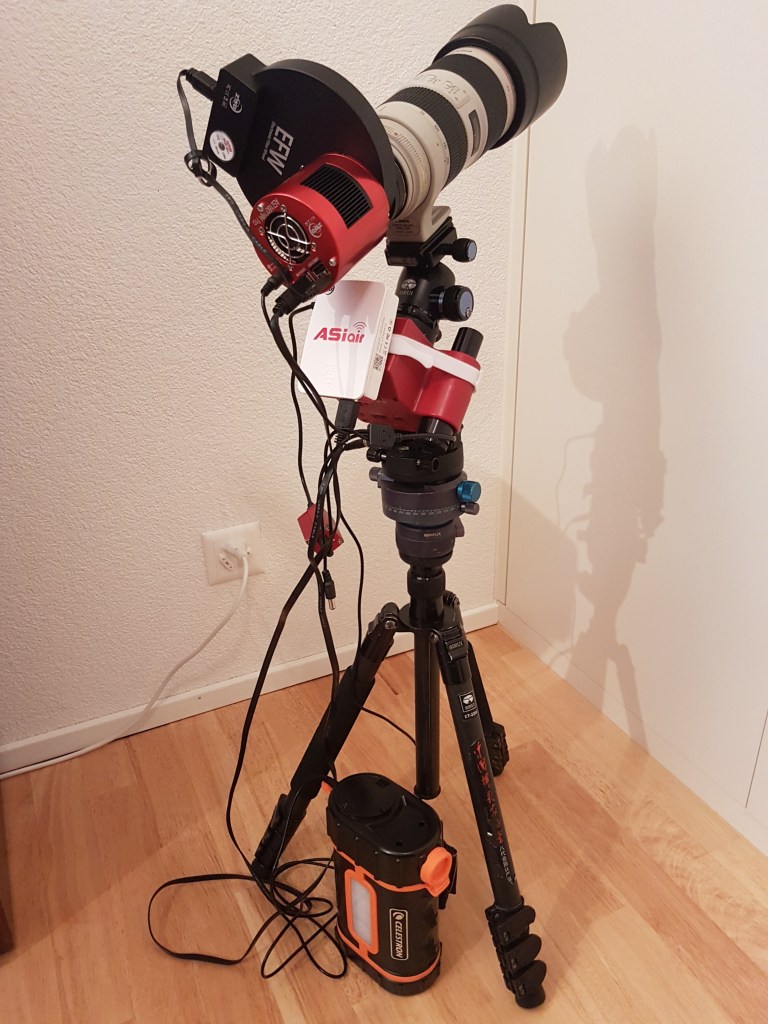
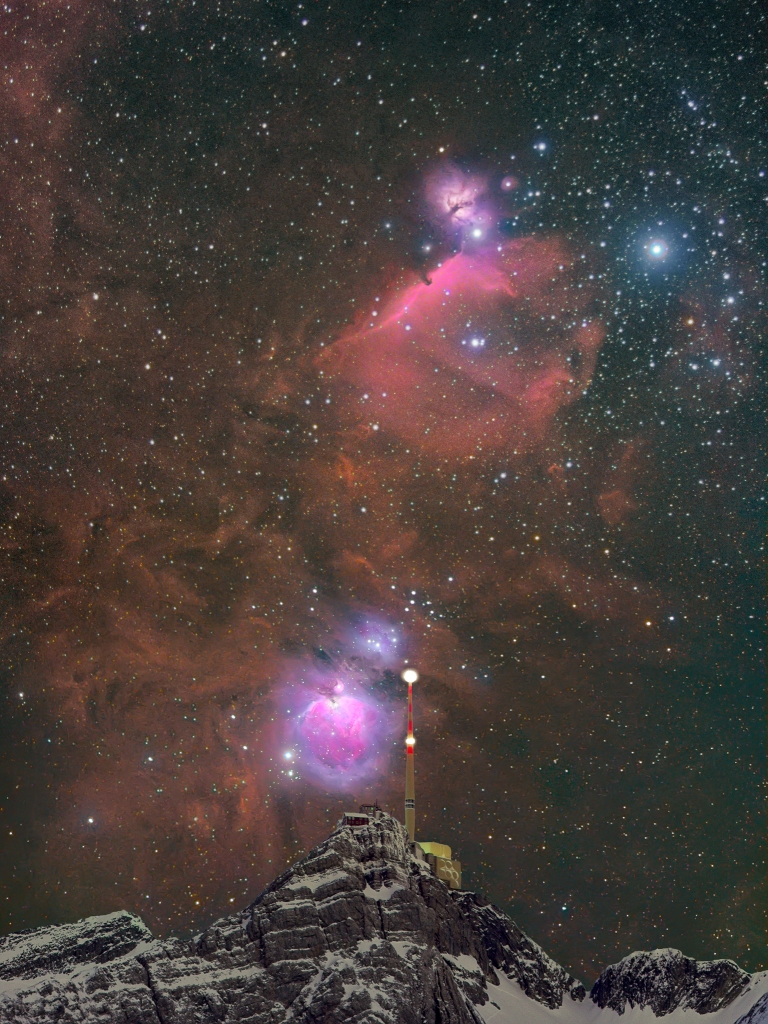
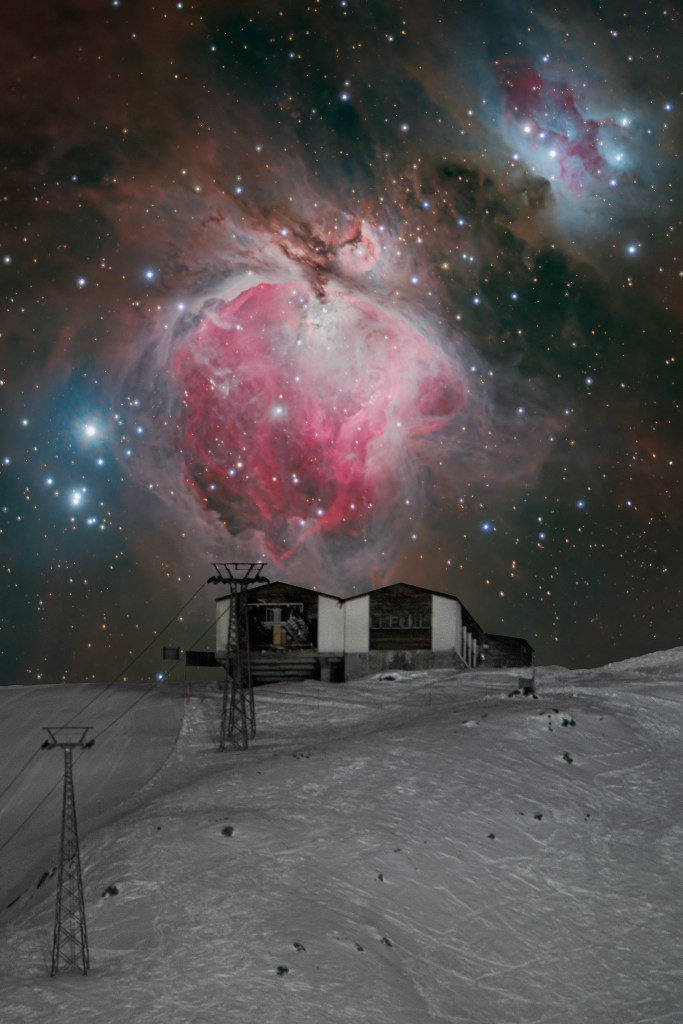
A few weeks ago, the weather forecasts for the mountains were excellent, while my backyard was drowning in fog. There was no excuse to hide behind my telescopes, and I headed to one of my favorite spots in the eastern part of Switzerland, where I arrived just after midnight, and shortly before my deep-sky target, Orion, appeared from behind the mountains.
I was happy that the steep one-hour hike proved that my gear is portable enough for most of my purposes. Having carried a backpack with way too much equipment for years helped for once!
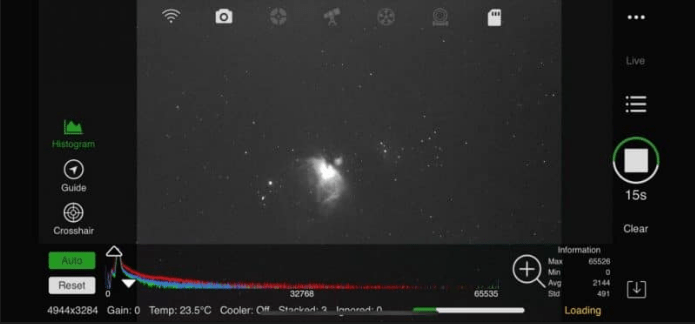
Apart from that, I made a complete fool out of myself by making every rookie mistake possible. It started with dropping heavily on my bottom during the climb because I walked with my headlamp extinguished and did not notice that the trail was completely iced. Luckily, I got away with a few bruises, and after putting on my snowshoes, I was able to continue my ascent.The camera is controlled via the ASIair app on a smart device. The app is a full-fledged deep-sky imaging software, supporting live focusing, polar alignment, automated image acquisition, auto–guiding, and remote focusing for ZWO devices and supported mounts and cameras.
Shooting proved to be tricky as well. I lost quite some time setting up my new gear, and framing my composition at an effective focal length of about 270mm proved to be a challenge. I missed focus during my first imaging run and forgot to turn on the cooling of my camera. When I noticed my mistakes, Orion was already approaching the horizon, and I was not able to acquire as many subs (photos for stacking) as planned, but at least I still got a few good frames. Back at home, I also noticed that my lens aperture was f/4 instead of f/2.8. That is a common mistake, as you cannot check or change the aperture of a non-manual lens on an astro-cam. You have to set the desired aperture while the lens is on a regular camera body, and then switch it over to the astro-cam.
Shooting and Processing
Shooting and with an astro-cam is very different from shooting with a DSLR. The confusion starts with the fact that you have to set a “gain” instead of an ISO. Furthermore, the histogram is meaningless. What you try to do instead is to overwhelm the read noise with the signal. For this, you have to expose the average ADU value (that’s the electron count per pixel) to a certain number above the read noise. Explaining this in detail is beyond the scope of this article, but the result is that all sub frames will look totally underexposed, and you need to stretch them non-linearly to see what you got. Fortunately, ASiair does that automatically in the image preview so that I immediately get an idea of what I captured.


Processing involves some additional steps as well. It starts with the file format. The RAWs are saved in the 32-bit FITS format, which cannot be read by conventional photography image processing software. You need specialized programs like Deep Sky Stacker to read, stack, and dark correct your subframes from each color channel and save them as 16-bit TIFFs before you can combine the individual channels in Photoshop for final processing. Or you can use software like PixInsight for the whole processing workflow.
The mentioned addition of a luminance channel makes an image look cleaner, and H-alpha narrowband data can add a significant amount nebula of detail.

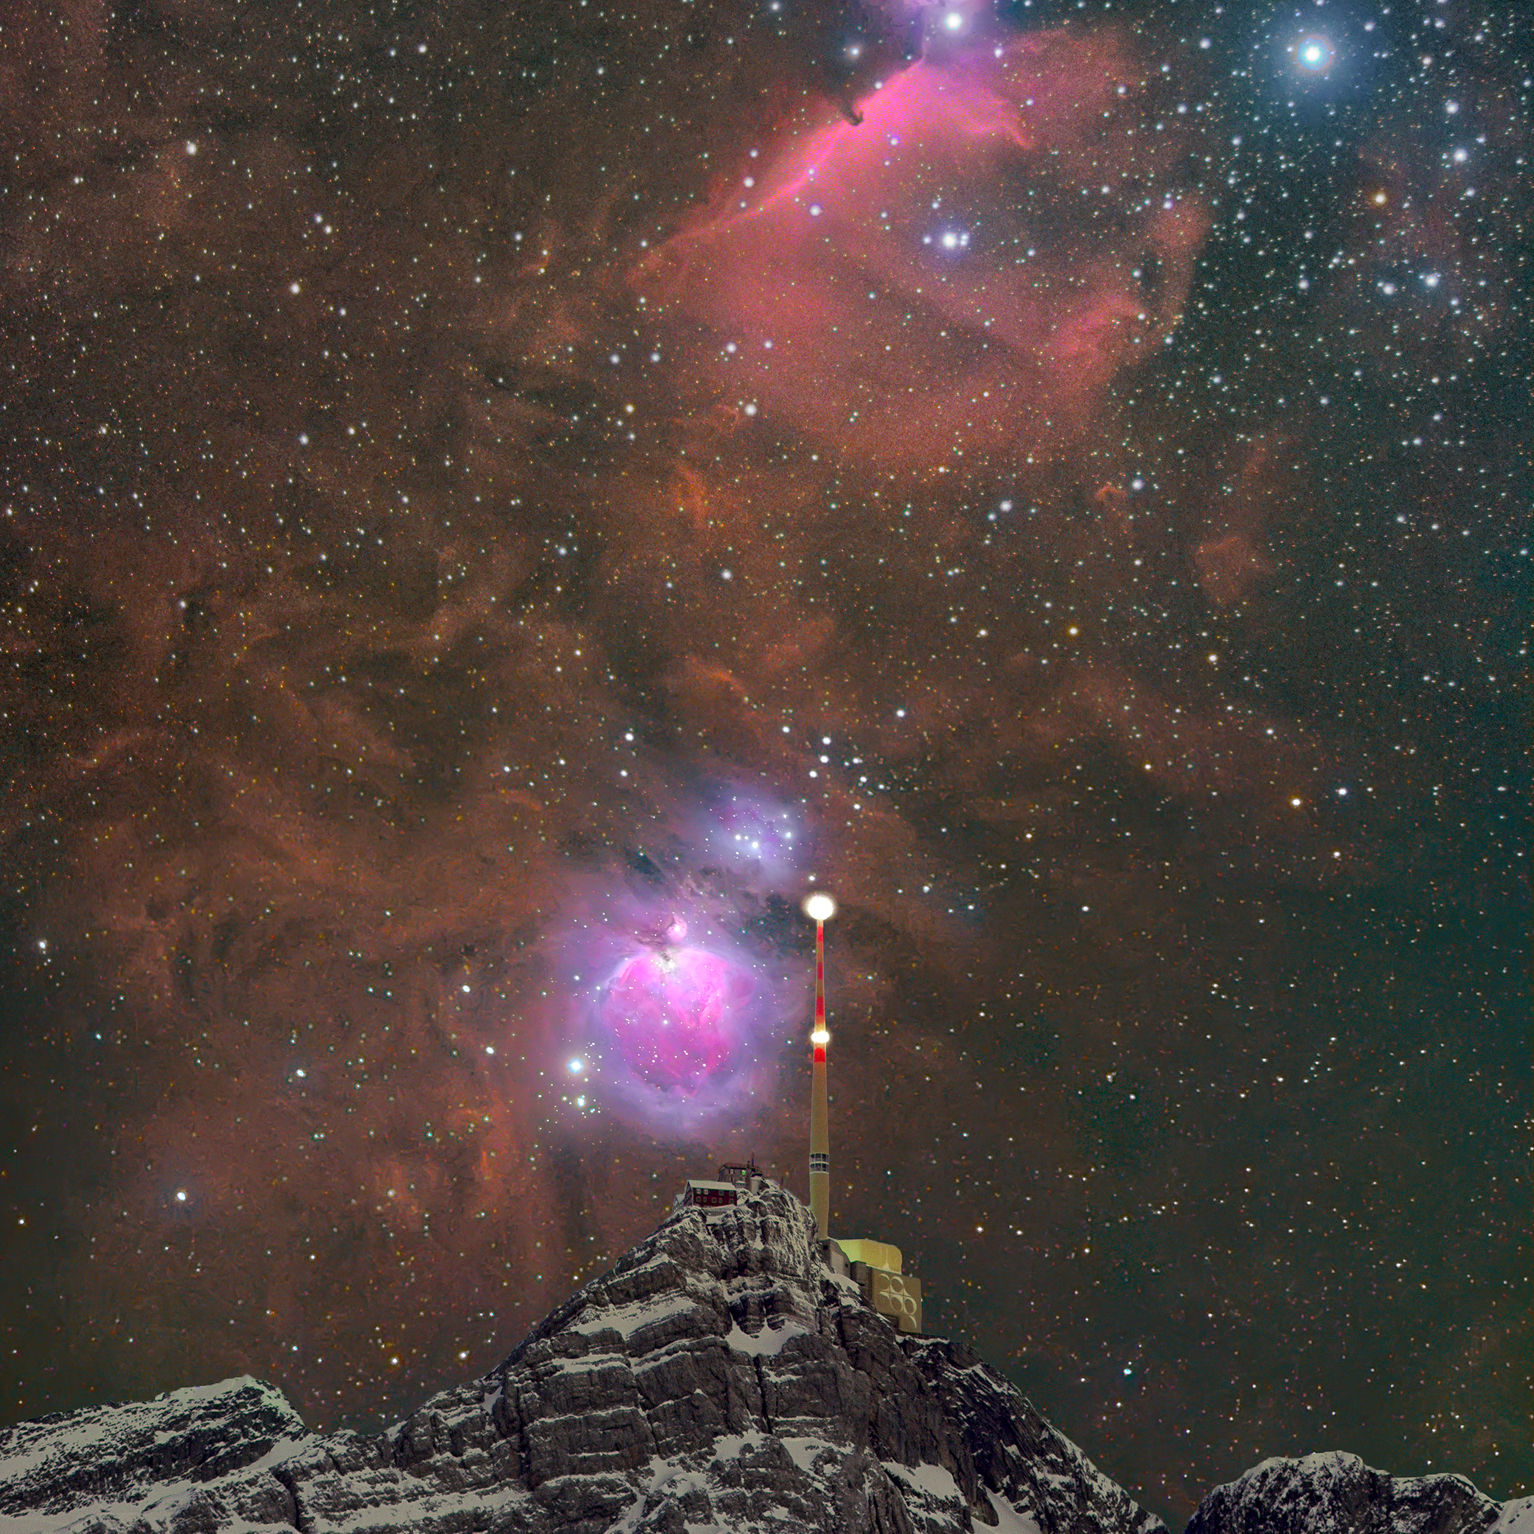
In my final image, I added 15 minutes of H-alpha data. That is much less than I had planned, has I lost about an hour of data due to my focus screw-up. The result, therefore, is far from perfect, but I consider it a proof of concept that shows the potential of dedicated astro-cameras for nightscapes.
One advantage of such a setup, apart from lower noise and higher sensitivity, is the possibility to shoot through narrowband filters. Despite all my mistakes, the addition of 15 minutes of narrowband H-alpha data to the image reveals nebula details I have never been able to record with my astro-modified DSLR.
The Next Step
During the shooting, I challenged my faithful little iOptron SkyTracker Pro to the limit. Tracking with such a heavy load for 3 minutes at a focal length of 270mm, without visible star trailing, is quite remarkable, but I doubt that I can reproduce that under less favorable conditions. A little breeze would probably have prevented such a result. It was, therefore, time to upgrade my mount.
The logical next step would have been an iOptron SkyGuider Pro or a Sky–Watcher Star Adventurer, which both have 2kg more load capacity and can be auto-guided in the RA axis, but I noticed another problem: Framing Orion at such a long focal length with a simple ball head and without a finder scope was a real challenge. That’s probably when I bumped my focus. A small mount with GOTO capability is a real advantage. The fact that such GOTO mounts can be guided in the DEC axis as well, is a nice addition. Of course, it still needs to be transportable, and unfortunately, there are not many such mounts available today.
One possibility is the Sky-Watcher GTI, a full fledged equatorial mount with a load limit of 5kg, weighting only 2.6kg.
A more budget aware solution for those who are prepared to do some DIY tinkering, is the Sky-Watcher AZ-GTI. This ALT-AZ mount can easily be modified into an equatorial setup capable for astrophotography. There even is a firmware update for this on the Sky-Watcher page. A modified AZ-GTI has the same funcions and load rating as the Sky-Watcher GTI, but costs only about half the price. That’s the route I took:
Another thing worth trying would be to shoot with a cooled one-shot color (OSC) camera. That would make image acquisition a lot easier. If you have access to one of these, they might be an excellent choice.
I am not going to put away my beloved modified Canon EOS-R anytime soon, but I will certainly continue to experiment with astro-cams. I still have to see how it performs with wide-angle lenses, as these could produce problematic gradients with some filters. However, for long focal length, close-up nightscapes, it has huge potential, and narrow banding should enable me to shoot scenes from heavily light-polluted sites, which are impossible to capture in broadband light.
I hope to see a lot more noncomposite “deepscapes in the future. If you have access to a specialized astro cam, think out of the box and start doing some pioneering work with them.
ZWO ASI 1600MM Pro
ZWO EFW 36mm motorized filter wheel with Baader HaLRGB filters
ZWO ASI AIR computer for camera control
iOptron SkyTracker Pro
Celestron Powertank Lithium

Thanks a lot man, I was wondering about starting doing some landscape astrophotography and I have the same tracker, although I live in the southern hemisphere and polar allignment is quite a issue all the time because is really hard to find sigma octans if you are not used to the hobby and how to find it with your naked eyes in the sky. It’s really complicated at the beggining but not impposible. I’m looking forward to check your next post! Greetings from chile 🙂
LikeLike
Polar alignment in the southern hemisphere is indeed much more problematic than in the north.
One possibility is to use a smartphone app to home in on the celestial south pole, but the easiest solution would be something like my Skywatcher AZ-GTI, where polar alignment can be assisted with an ASiair.
LikeLike